react使用模态框
In the context of web applications, a modal is a nifty tool that can present information without forcing the user to navigate from the current webpage. In this article, we venture to
在Web应用程序的上下文中,模态是一种漂亮的工具,可以呈现信息而无需强迫用户从当前网页导航。 在本文中,我们冒险去
- Create a modal using React. 使用React创建一个模态。
- Make the modal look like the delightful modal used by Medium to seek confirmation. 使模态看起来像Medium用来确认的令人愉快的模态。
什么是模态? (What is a Modal?)
A modal view is a distinct view that gets shown on the top of a host window. Modals can be used to serve a multitude of use cases ranging from presenting information or errors to blocking a user in the form of an auth-wall or pay-wall.
模式视图是显示在主机窗口顶部的独特视图。 模态可用于服务各种用例,从呈现信息或错误到以身份验证墙或付费墙的形式阻止用户。
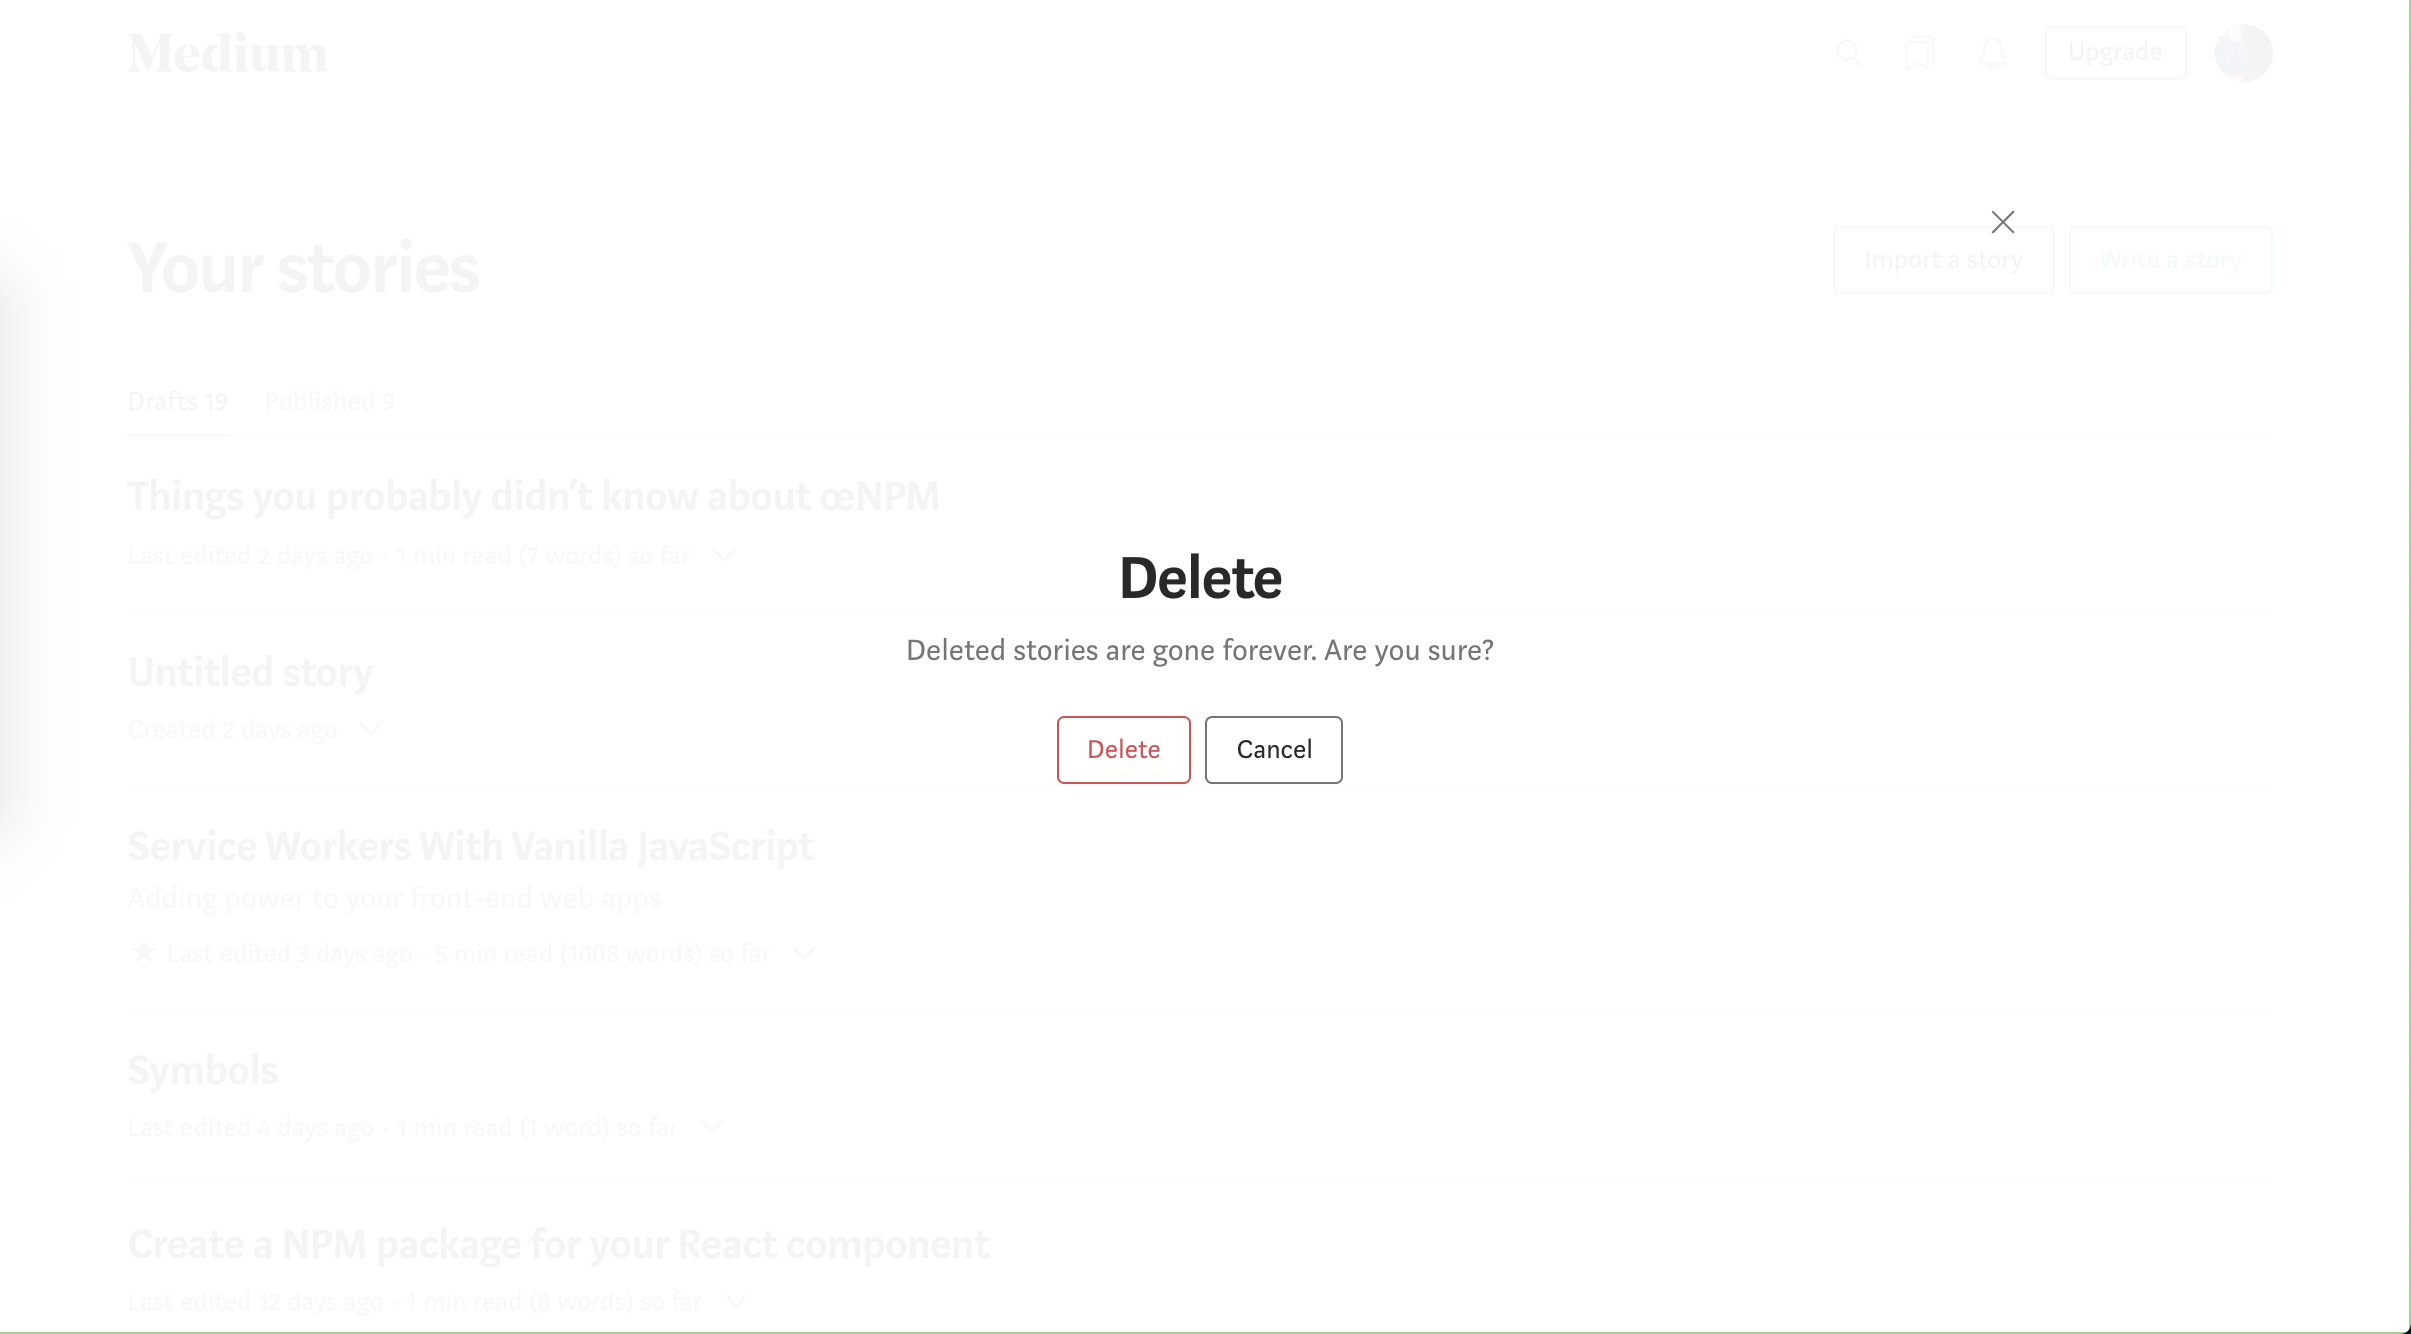
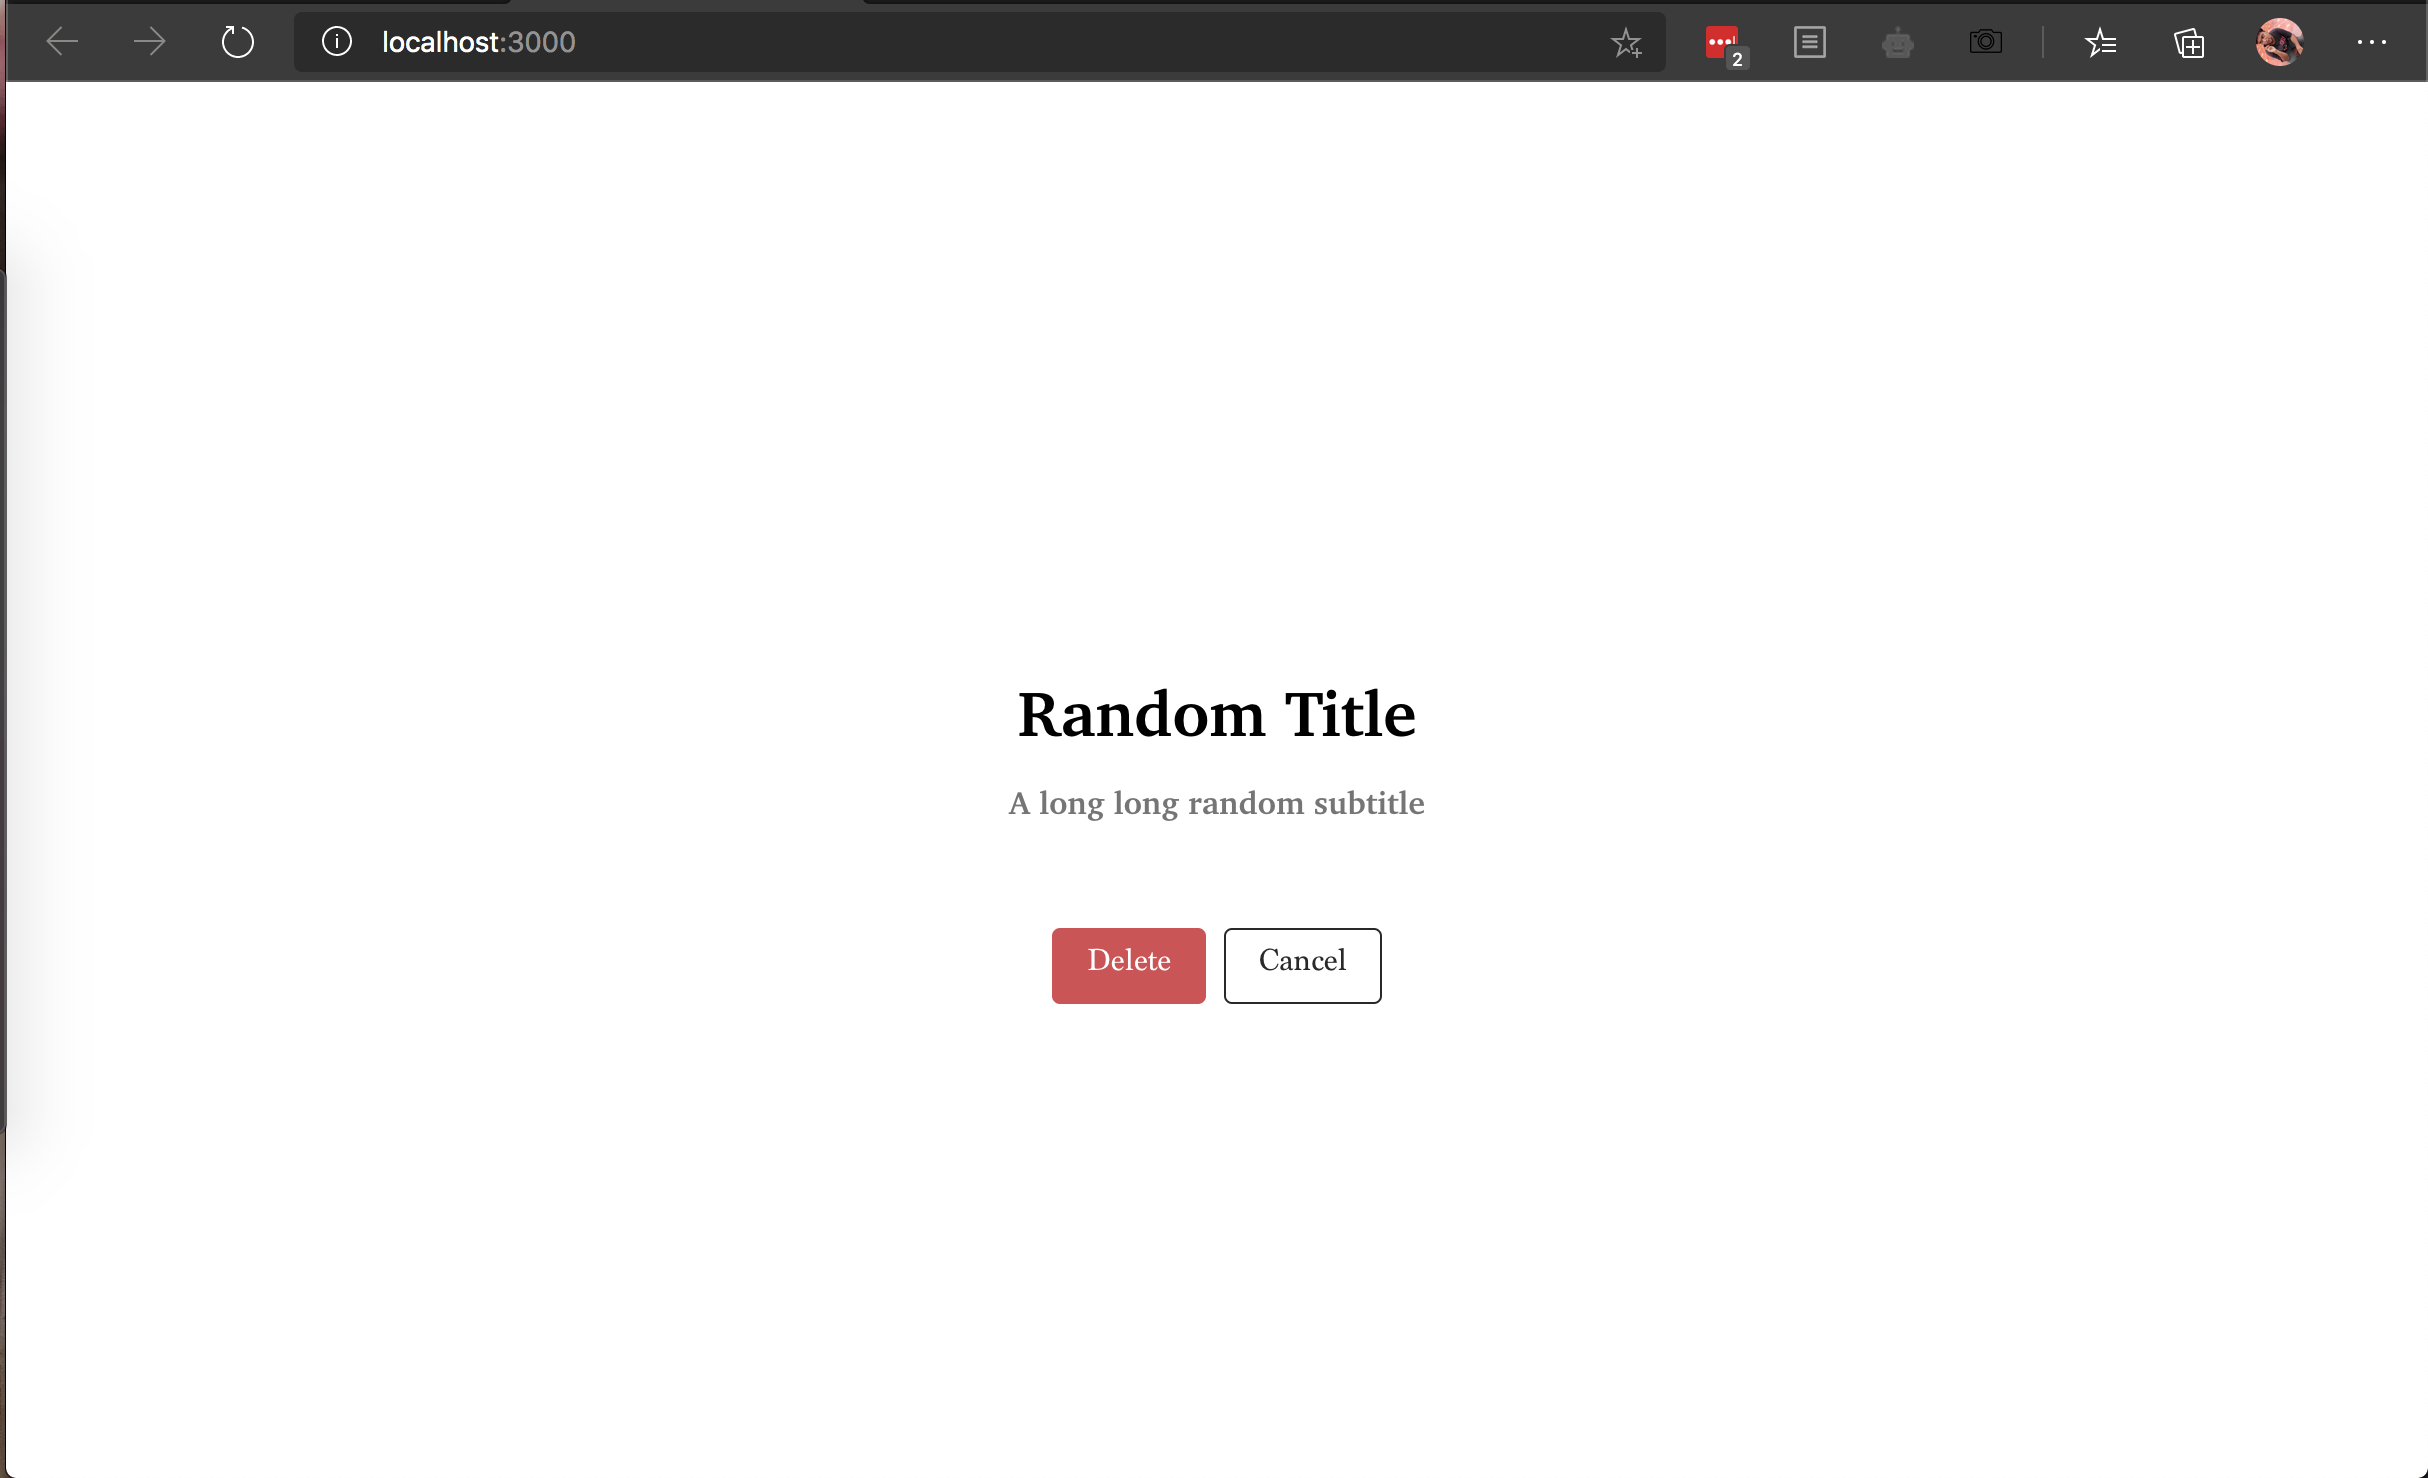
Modals are autonomous of the host window or view. This makes a modal an exemplary reusable component. The agenda of this post is to imitate one of the minimal modals used by Medium. Below is an image of the modal that we will attempt to mirror.
模态是宿主窗口或视图的自主项。 这使模态成为示例性的可重用组件。 此职位的议程是模仿Medium使用的最小模式之一。 下面是我们将尝试镜像的模态图像。
第1部分:在React中创建模式 (Part 1: Creating a modal in React)
We start by creating a React application using create-react-app To do so, head over to your terminal or command prompt, navigate to the preferred directory and type
我们首先使用create-react-app创建一个React应用create-react-app为此,转到您的终端或命令提示符,导航到首选目录并输入
npx create-react-app medium-modal-mimic
npx create-react-app medium-modal-mimic
This should create a React project. Open the project with your favourite IDE.
这应该创建一个React项目。 使用您最喜欢的IDE打开项目。
1.1使用主机组件— App.js (1.1 Working with the host component — App.js)
The host component or host window is the entity that will present the modal on itself. Once the application is created, move to src/App.js and remove everything but the top container div. Your App.js should look like below
主机组件或主机窗口是将自己呈现模式的实体。 创建应用程序后,移至src/App.js并除去顶部容器div 。 您的App.js如下所示
Next, move to the App.css and following a similar pattern, remove all the styles other than the App
接下来,移至App.css并遵循类似的模式,删除除App以外的所有样式
Make the following changes to the App class. We have made our host screen to take full-screen height. Anything that goes in this div will be centered because of align-items and justify-content
对App类进行以下更改。 我们已将主机屏幕设为全屏高度。 由于align-items和justify-content ,该div中的所有内容都将居中
Move back to the App.js and add a button in the div like below. Make sure that you see this button at the center of the page.
返回到App.js并在div添加一个按钮,如下所示。 确保在页面中央看到此按钮。
<div className="App">

</div>
The visibility of the modal would depend upon a state variable. You will need to use useState hook to create a state variable. This state variable determines the fate of our modal.
模态的可见性将取决于状态变量。 您将需要使用useState钩子来创建状态变量。 这个状态变量决定了我们模态的命运。
Start with importing useState in App.js
从在App.js导入useState开始
import React, {useState} from 'React';
import React, {useState} from 'React';
In the App component, create a state variable. The initial value of the state variable showModal would be set to false as you would not want the modal to show when the page first loads.
在App组件中,创建一个状态变量。 状态变量showModal的初始值将设置为false,因为您不希望在页面首次加载时显示模式。
function App() {const [showModal, setShowModal] = useState(false);.....}Next, you would need a function that changes the value of this state variable. To achieve this, you would create a function like below
接下来,您需要一个函数来更改此状态变量的值。 为此,您可以创建一个如下所示的函数
const toggleModal = () => { setShowModal(!showModal);}When the function above is called, the value of state variable, showModal is inverted. Notice the ! in front of showModal. The initial value of showModal was set to be false. When the button is first clicked, this function would be executed and the inverted value of showModal, which happens to be true will be assigned to the state variable.
调用上述函数时,状态变量showModal的值将被反转。 注意! 在showModal前面。 showModal的初始值设置为false。 首次单击该按钮时,将执行此功能,并将恰好为true的showModal的倒置值分配给状态变量。
But, you have not yet connected the button with the function. This will not take effect until you do so. To invoke the toggleModal function on click of the button, add an onClick to your button like below
但是,您尚未将按钮与功能连接。 除非您这样做,否则它不会生效。 要在单击按钮时调用toggleModal函数,请在按钮上添加一个onClick ,如下所示
<button onClick={toggleModal}> Toggle modal</button>
<button onClick={toggleModal}> Toggle modal</button>
If you have been following along, your host window is all set up and you should have an App.js that looks like the one below
如果您一直在遵循,则主机窗口已全部设置好,您应该拥有一个App.js ,如下所示
1.2深入探讨话题—模态 (1.2 Getting to the meat of the conversation — Modal)
Now, you will need to create the Modal component. In the src directory, create a new directory named Modal In the Modal directory, create a new file index.js This file will contain the Modal component that we want to show.
现在,您将需要创建Modal组件。 在src目录中,创建一个名为Modal的新目录。在Modal目录中,创建一个新文件index.js此文件将包含我们要显示的Modal组件。
As the scope of this modal is to only show a title, a subtitle and two buttons, we will extract these properties in the modal view. These properties will later pass down by host ( App.js ) to this modal component.
由于此模式的范围仅显示标题,副标题和两个按钮,因此我们将在模式视图中提取这些属性。 这些属性稍后将由主机( App.js )传递给此模式组件。
const { showModal,
        onClose,
        onAction,
        titleForCloseButton="Cancel",
        titleForActionButton="Delete",
        title = "Missing Title",
        subtitle = ""} = props;
1.2.1了解道具 (1.2.1 Understanding props)
showModal is the state variable flag that determines if the modal should be visible or hidden. We created this while working with App.js
showModal是状态变量标志,用于确定模态是可见还是隐藏。 我们是在使用App.js创建的
onClose is an event handler that should be invoked when you want to dismiss the modal. If you have been paying attention, you would notice that you have already implemented this, too, in the toggleModal function that you wrote in App.js You will need to pass the reference to the toggleModal function to the onClose prop.
onClose是一个事件处理程序,当您要关闭模式时应调用它。 如果你一直在关注,你会发现,你已经实现了这一点,也是在toggleModal功能,你在写App.js您需要将参考toggleModal功能传递到的OnClose道具。
onAction is the action handler that you would want to invoke when the primary button is clicked.
onAction是单击主按钮时要调用的动作处理程序。
We haven’t used these for now. But, these can be used to customise the button titles. The titleForCloseButton and titleForActionButton are the titles for those buttons respectively. If no values are passed for these buttons, they will take default values of “Cancel” and “Delete” respectively.
我们目前尚未使用过。 但是,这些可用于自定义按钮标题。 titleForCloseButton和titleForActionButton分别是这些按钮的标题。 如果没有为这些按钮传递任何值,则它们将分别采用默认值“取消”和“删除” 。
The title and subtitle field are self-explanatory. It should be noted that we haven’t passed the props yet. We will do this in one of the subsequent sections.
标题和副标题字段不言自明。 应当指出,我们还没有通过道具。 我们将在后续部分之一中执行此操作。
1.2.2样式设置 (1.2.2 Styling the modal)
Further, you would need to conditionally render the modal. If the flag for showModal is true, you would return a Modal view. The modal view will have full width and height. It will have a white background with 95% opacity. Since you want it to be shown with no association to the host window, the position for this modal will have to be absolute.
此外,您将需要有条件地渲染模态。 如果showModal的标志为true,则将返回Modal视图。 模态视图将具有完整的宽度和高度 。 它将具有95%不透明度的白色背景 。 由于您希望它不与宿主窗口关联显示,因此该模态的位置必须是绝对的。
Finally, you would want it to be always on the top of the host and you might want to have a z-index of a higher value, say 9? This roughly compiles to a set of CSS styles below
最后,您可能希望它始终位于主机的顶部,并且可能希望具有更高的z-index值 ,例如9? 这大致编译为以下CSS样式集
In your modal component, create a button in the div with modal class to dismiss the modal. Later, this will take the form of the cancel button. We will also need to create two spans that hold the title and the subtitle. At this point, we won’t worry about the aesthetics as we would deal with the CSS later.
在模态组件中,在div中使用模态类创建一个按钮以关闭模态。 稍后,它将采用“取消”按钮的形式。 我们还需要创建两个包含标题和副标题的跨度。 在这一点上,我们不必担心美观性,因为我们稍后将处理CSS。
We will conditionally render this div with modal class if shouldShow is true. In the alternate case, we will return a div with display:none
如果shouldShow为true,我们将使用modal类有条件地渲染此div 。 在另一种情况下,我们将返回一个display:none的div 。
const MyModal = (props) => {   const {shouldShow,
          onClose,
          title = "Missing Title",
          subtitle = ""} = props;   return shouldShow === true
            ?
            <div className="modal">
              <span className="title">{title}</span>
              <span className="subtitle">{subtitle}</span>
              <button onClick={onClose} className="close">Close</button>
            </div>
             :
            <div style={
        {display: 'none'}}></div>}
1.2.3连接圆点 (1.2.3 Connecting the dots..)
Head back to the App.js and pass the required props to the modal. Your updated App.js should look like below.
回到App.js然后将所需的道具传递给模式。 更新后的App.js应该如下所示。
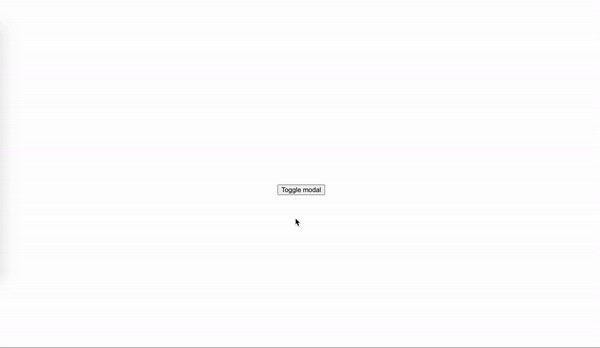
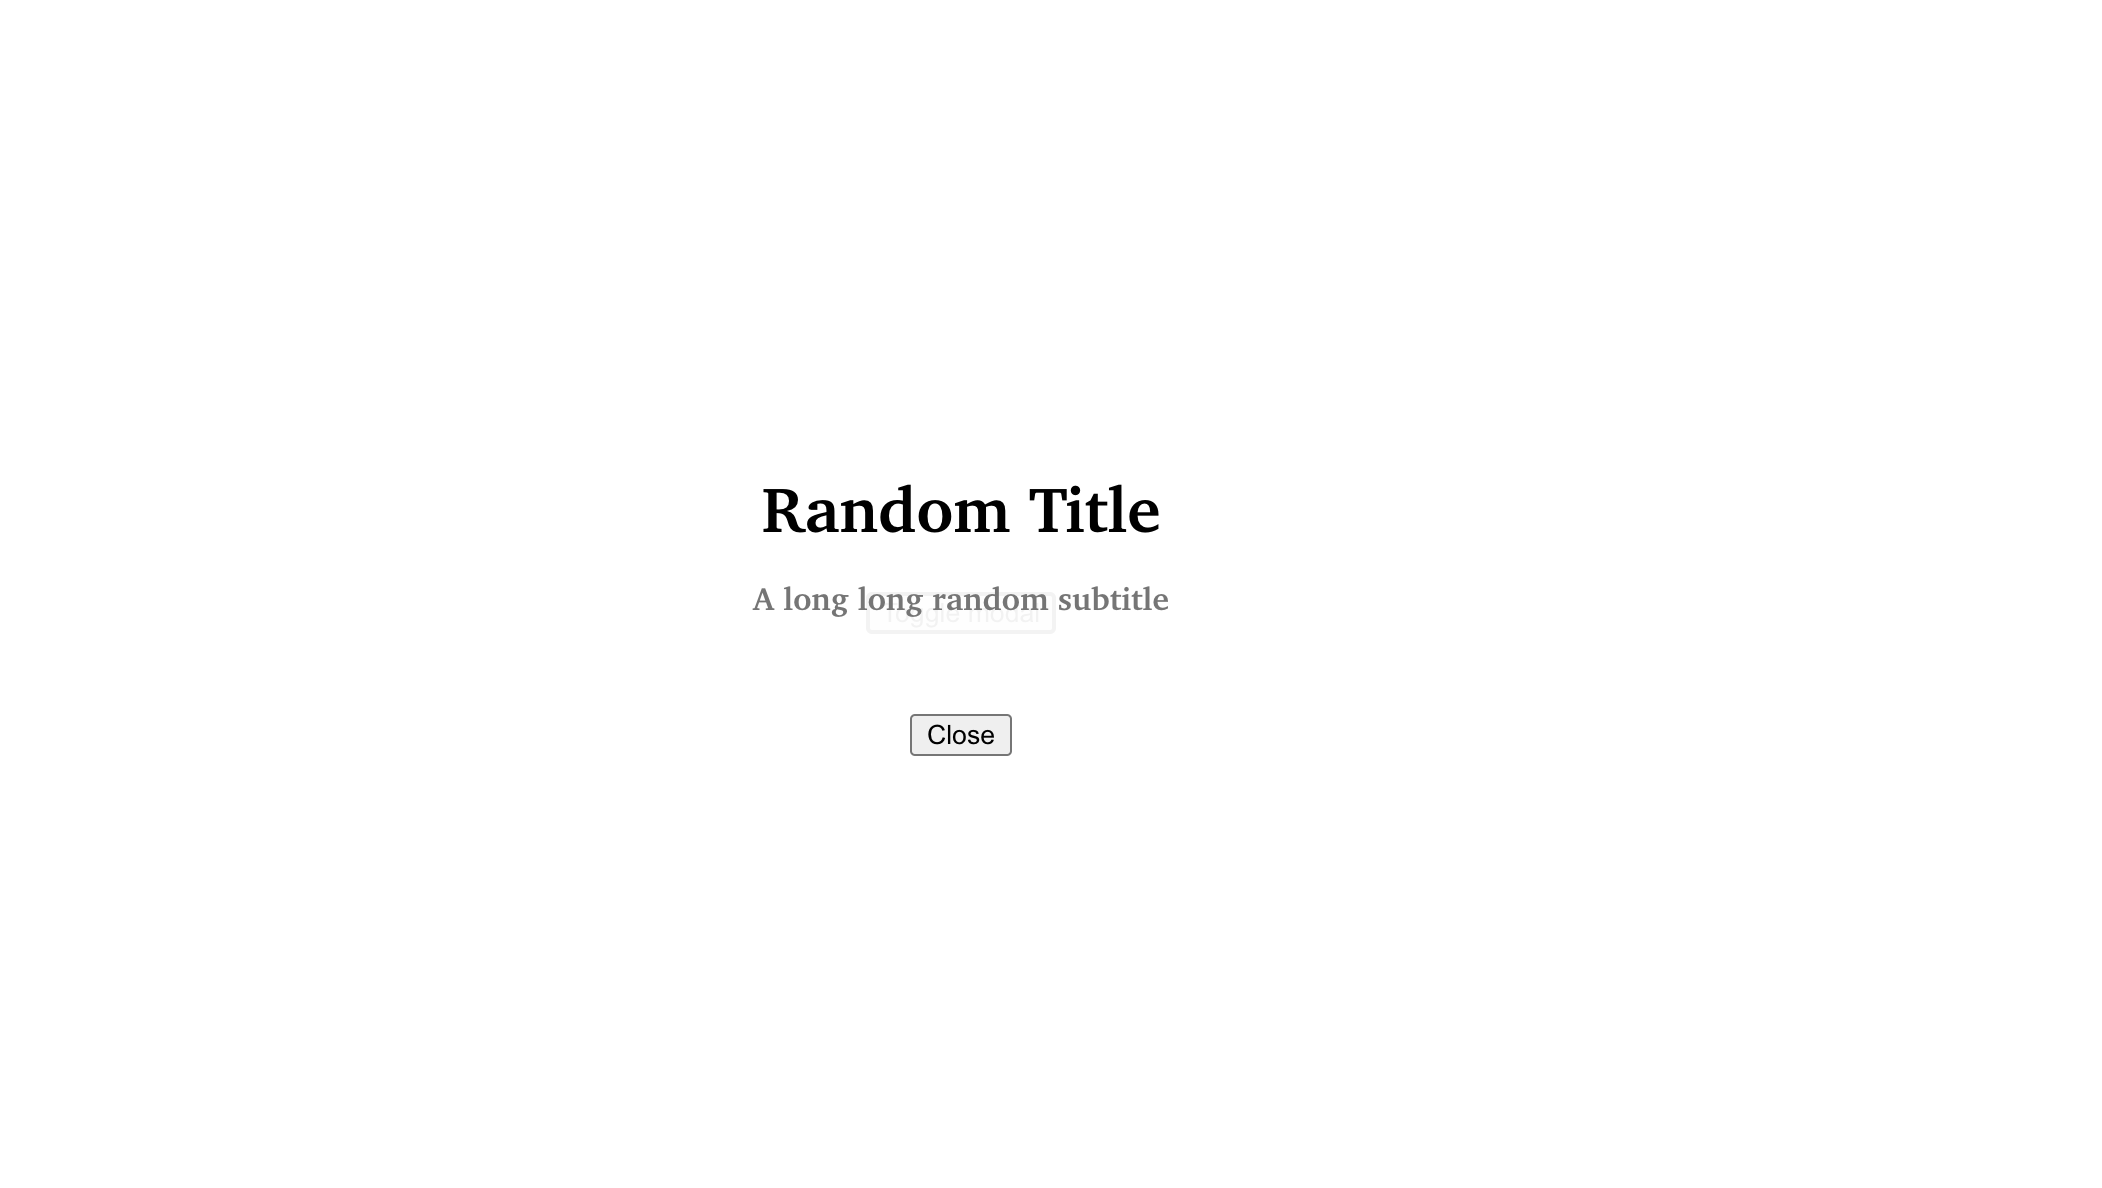
If everything went well, you should have a result like below.
如果一切顺利,您应该得到如下结果。
第2部分:使其看起来像Medium的模态 (Part 2: Make it look like Medium’s modal)
Now that we have a working modal in place, let us try to emulate the Medium modal.
现在我们已经有了一个工作模态,让我们尝试模拟中等模态。
初步印象 (Initial impressions)
The major part of my initial impressions revolved around three very straight-forward observations.
我最初的印象主要围绕三个非常直接的观察。
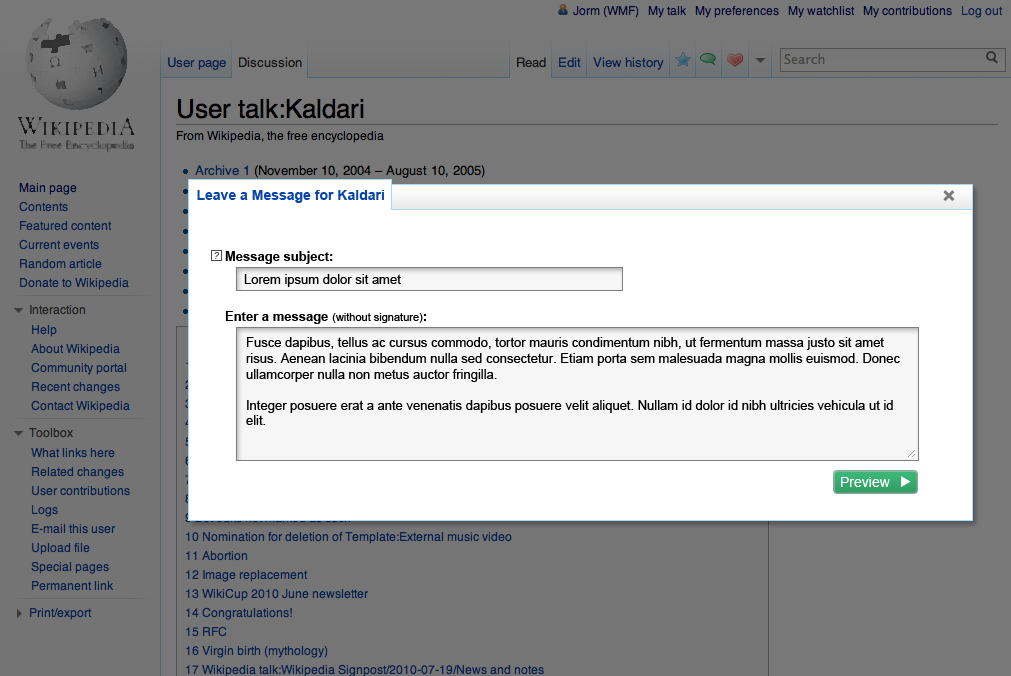
- The modal, unlike a lot of commonly seen modals, doesn’t have a well-defined content container. For reference, have a look at the Wikipedia modal below. There is a separate section that contains the content, the message form in this example, and the background has a translucent black shade that purposes to defocus the primary web page. 与许多通常使用的模态不同,该模态没有明确定义的内容容器。 作为参考,请查看下面的Wikipedia模式。 在此示例中,有一个单独的部分包含内容,消息表单,并且背景具有半透明的黑色阴影,目的是使主网页散焦。
2. The modal has a minimal white background with some transparency ( transparency 5%/alpha 95%). We have already done this while we were working with modal.css
2.模态具有最小的白色背景,并具有一定的透明度(透明度5%/ alpha 95%)。 我们在使用modal.css时已经完成了此modal.css
3. The content is centered.
3.内容居中。
With being caught up on all the background and observations, the next reasonable action item would be to roll up our sleeves and change some CSS.
掌握所有背景和观察资料后,下一个合理的措施就是收起袖子,更换一些CSS。
2.1字体 (2.1 The Fonts)
According to this Quora answer, Medium uses Charter and Kievit fonts. On inspecting the heading element, I found this
根据此 Quora答案,Medium使用Charter和Kievit字体。 在检查标题元素时,我发现了这一点
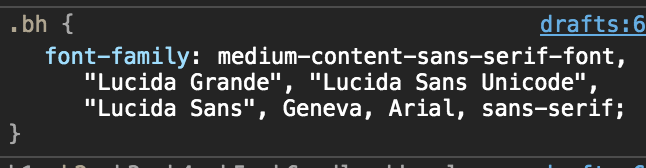
However, a Medium post, a different Quora answer and a Reddit thread confirmed that this is ITC Charter font. The font can be found here.
但是, Medium帖子 , 不同的Quora答案和Reddit主题确认这是ITC Charter字体。 字体可以在这里找到。
To use this font in the modal, we use CSS @font-face like below in the modal.css
要在模式中使用此字体,我们在modal.css使用CSS @font-face
@font-face {

  font-family: 'ModalFont';

}
We also made the title use this font face in the same CSS file. Along with setting the font family, we also added a few visual attributes like font-size, margin and colour.
我们还使标题在同一CSS文件中使用此字体。 除了设置字体系列外,我们还添加了一些视觉属性,例如字体大小,边距和颜色。
.title{

font-size: 2rem;
color: #000;
margin-bottom: 1rem;
font-family: 'ModalFont';
}
Similarly, for the subtitle span, on inspection,
同样,对于字幕跨度,在检查时,
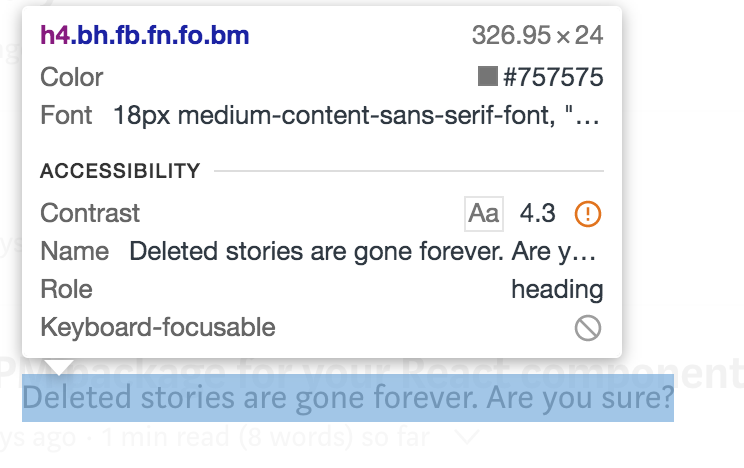
We discovered that the font is same but the font-colour is #757575. This makes our subtitle to have a style like below
我们发现字体是相同的,但字体颜色是#757575。 这使我们的字幕具有如下样式
.subtitle{

font-size: 1rem;
font-family:'ModalFont';
margin-bottom: 3rem;
color: #757575;
}
As we are not completely ripping off Medium’s modal, we will skip the exact font-size, margin etc. Just after applying the font, our modal has started to look similar to Medium’s
由于我们还没有完全删除Medium的模态,因此我们将跳过确切的字体大小,边距等。应用字体后,我们的模态开始看起来与Medium的模态相似
2.2按钮 (2.2 Buttons)
We will use two different style-sets for the buttons. The first style suite determines the visuals for the button and the second adds the visuals specific to the action button. In the modal.css
我们将为按钮使用两种不同的样式集。 第一种样式套件确定按钮的外观,第二种样式套件添加特定于操作按钮的外观。 在modal.css
.btn{

padding: 0.6rem 1rem;
font-family: 'ModalSubtFont';
border-radius: 4px;
font-size: 1rem;
margin:0.3rem
}.action-btn{

color:#FFF;
background-color:#CC5454;
border: 1px solid #CC5454;
}.dismiss-btn{

color:#292929;
background-color:transparent;
border: 1px solid #292929;
}
and in the modal/index.js
并在modal/index.js
<div className="btns">
  <button onClick={onClose} className="btn action-btn">Delete</button><button className="btn dismiss-btn">Cancel</button>
</div>
In the snippet above, we also introduced a CSS class named btns that acts as a wrapper with flex-direction column. This was needed to place the buttons side by side.
在上面的代码段中,我们还引入了一个名为btnsCSS类,该类充当flex-direction列的包装器。 需要将按钮并排放置。
We also wrote a CSS class content-wrapper that wraps the content in the centre of the screen. This class can come in handy to make subtle changes like adding border to the content. This is demonstrated below.
我们还编写了一个CSS类content-wrapper ,将内容content-wrapper在屏幕中央。 该类可以派上用场,以便进行细微的更改,例如为内容添加边框。 如下所示。
A. content-wrapper without border
A.无边界的内容包装器
B. content-wrapper with border
带边框的内容包装器

The complete modal.css
完整的modal.css
The complete modal/index.js
完整的modal/index.js
结论 (Conclusion)
As intended, we could create a modal similar to the Medium’s. However, this modal is still a bit sketchy and can be made way better. As we pass the props from the host to the modal, we have narrowed the scope of this modal. This can be tackled by using props.children.
如预期的那样,我们可以创建一个类似于“媒介”的模式。 但是,这种模态仍然有些粗略,可以做得更好。 当我们将道具从主持人传递到模态时,我们缩小了该模态的范围。 这可以通过使用props.children解决。
普通英语JavaScript (JavaScript In Plain English)
Enjoyed this article? If so, get more similar content by subscribing to Decoded, our YouTube channel!
喜欢这篇文章吗? 如果是这样,请订阅我们的YouTube频道解码,以获得更多类似的内容!
翻译自: https://medium.com/javascript-in-plain-english/medium-like-modal-with-reactjs-3a0db7c0d38c
react使用模态框